Contract Page
Signing the Contract
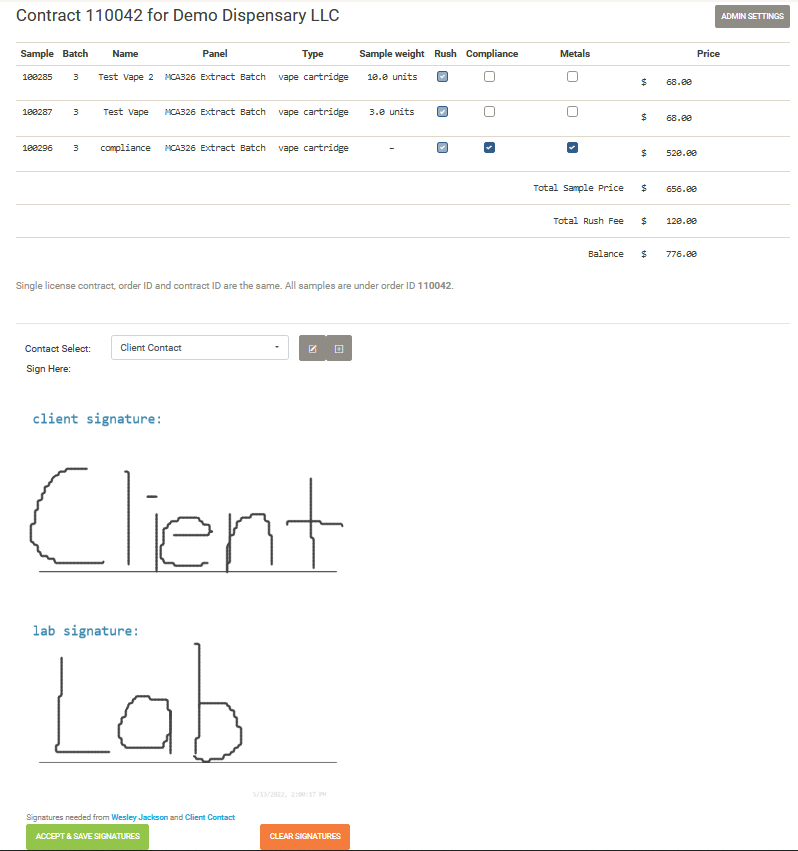
Selecting approved samples and clicking the Pickup Samples button will automatically show the contract page
with orders and a contract generated for the pickup. On this page a staff user can set the final prices and test
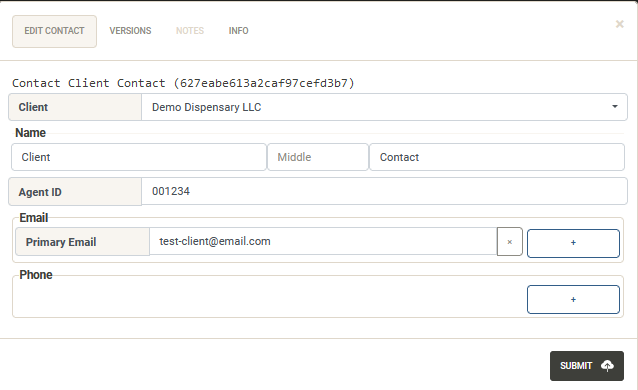
options for the pickup. Select the client contact that will be signing the contract and will be receiving an invoice
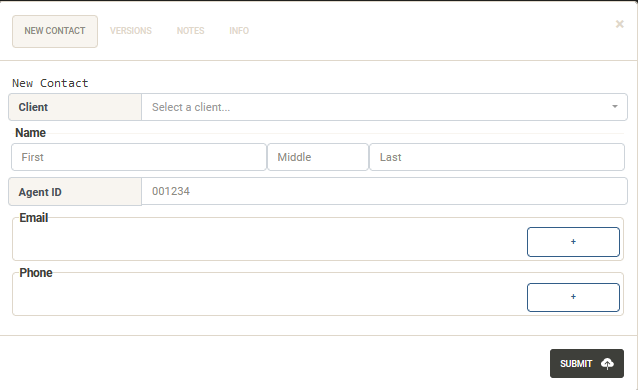
email. If this contact doesn’t exist, the + button next to the Contact Select will allow for a new contact to be
entered. Existing contacts can be edited with the edit contact button as well.
Once every field is correct, the client and staff user must sign the form and press the
Accept & Save Signatures Button.
If an invoice is desired to be emailed, ensure the contact has an email before continuing. This can be viewed by editing the contact.
Finalizing the Contract
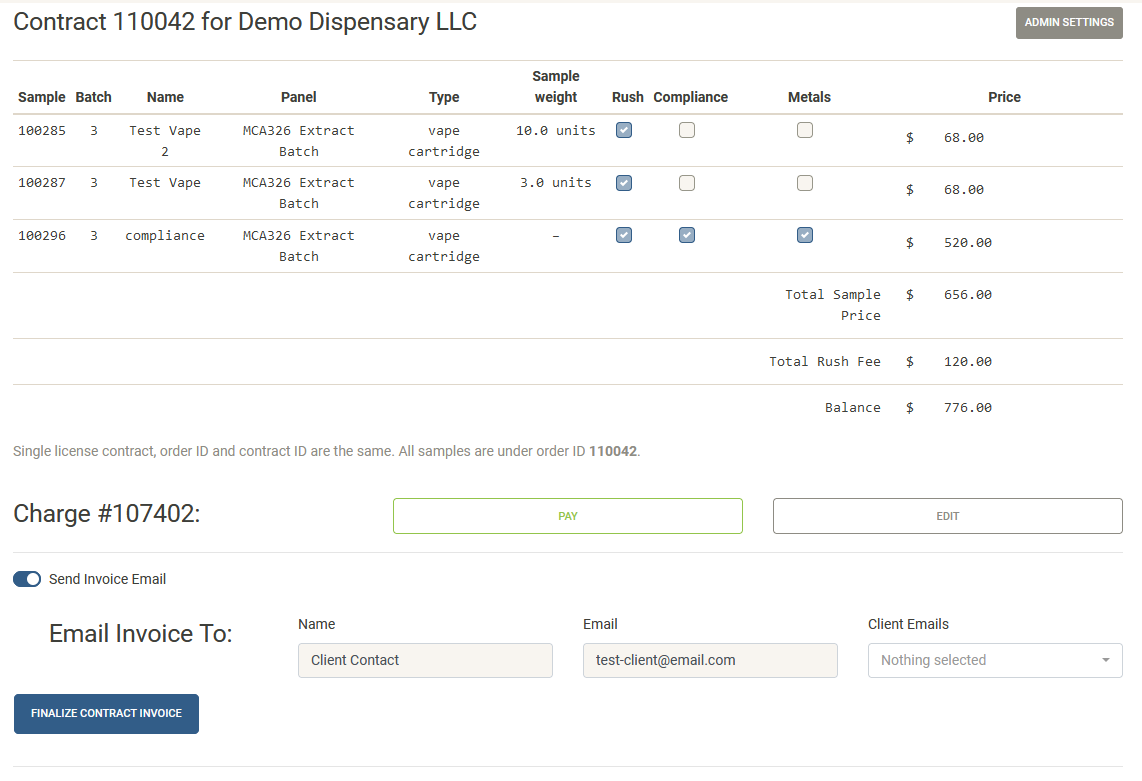
Once the contract has been signed, a charge is automatically generated and payment is allowed against it immediately
on the Contract page. The Finalize Contract Invoice button will generate an invoice that can be
optionally sent by email to the client signer contact and any other emails related to the client.
If a contract is not finalized or signed, it can be accessed or reset from the
New Orderpage.
IMPORTANT! Contracts that are not finalized will NOT be sent to FileMaker LIMS.
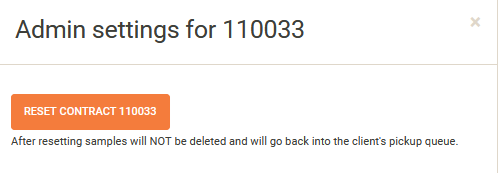
Contracts can be reset anytime before the invoice and contract are finalized. Press the
Admin Settingsbutton and click theReset Contractbutton. Samples for the client will be put back into the sample queue and existing orders, charges, and contract will be reset.
Example Create Contact Window
Example Edit Contact Window